Codex CLI Tutorial: Install, Configure and Use It
A Codex CLI tutorial: install it, sign in, write AGENTS.md, use the key slash commands, connect MCP servers and run codex exec in scripts.
Josh Pocock4 min read


AI Coding
Codex CLI
Stride AI Academy
To use the Codex CLI, install it, run codex in your project folder and sign in with ChatGPT or an API key. Run /init to create an AGENTS.md with project instructions, describe the task, review the changes, and use codex exec for scripted runs. Settings live in ~/.codex/config.toml.
Codex is OpenAI's coding agent, and the CLI is its terminal version. This tutorial covers installation, sign-in, project instructions, the commands you'll use most, MCP servers and non-interactive runs. Checked against OpenAI's Codex CLI docs, October 2026.
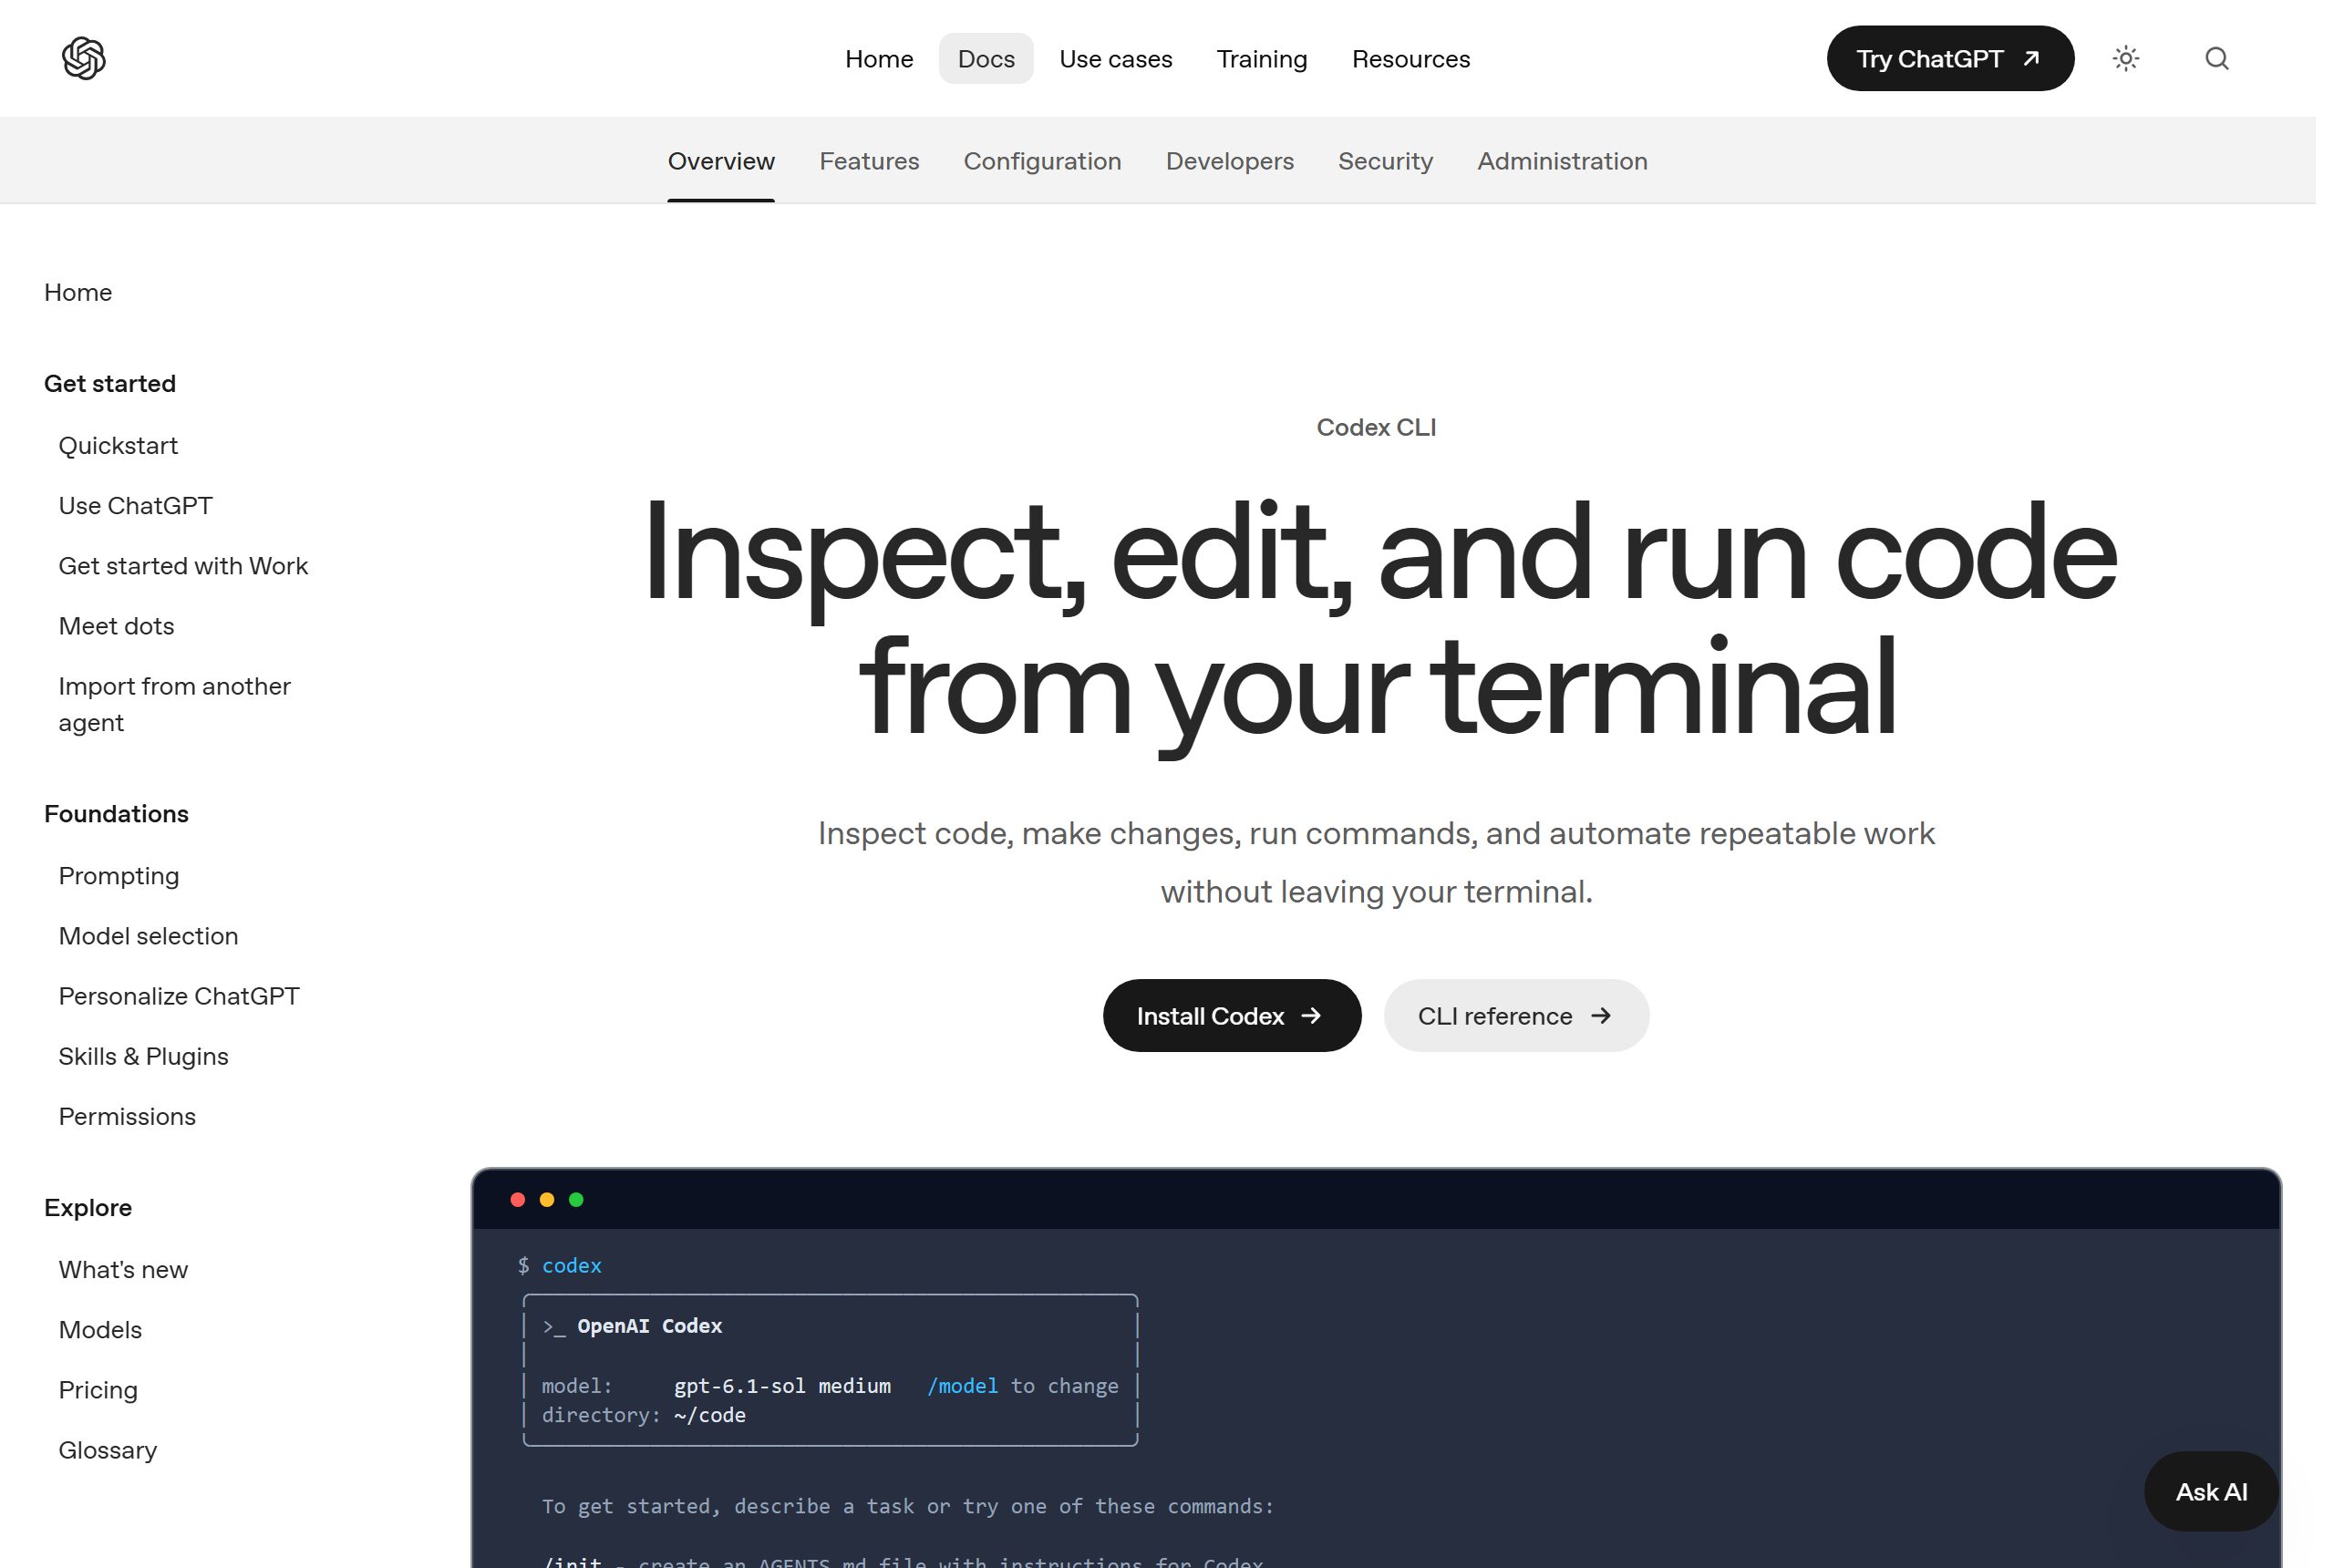
The OpenAI Codex CLI is an AI coding agent that runs in your terminal, so you don't need an IDE to use it.
Step 1: Install
On macOS and Linux, OpenAI's docs give a standalone installer:
curl -fsSL https://chatgpt.com/codex/install.sh | shYou can also install it with npm:
npm i -g @openai/codexThe docs also have Windows and Homebrew options. Check the install page for your system.
Step 2: Start and sign in
From your project folder:
codexOn first run, choose Sign in with ChatGPT or another available sign-in method. Codex is included with ChatGPT plans, and you can also use it with an API key billed at API rates, without the cloud features (Codex pricing).
Step 3: Give it project instructions
Run:
/initIt creates an AGENTS.md file with instructions for Codex. Edit it to add what Codex can't guess: how to run and test the project, conventions, and what it must never touch.
Codex reads a global AGENTS.md from ~/.codex, then walks from the project root down to your current folder, using at most one file per directory, with files closer to your folder read last. The combined content is capped at 32 KiB by default. If you also use Claude Code on the project, the same AGENTS.md can serve both (see CLAUDE.md file examples).
Step 4: Give it a task
Describe the outcome, the constraints and how to check it:
Add a "last contacted" column to the leads table view. Read the date
from the latest message for each lead. Don't change the database
schema. Run the tests when you're done and show me the diff.
Review what it changed before you commit. Ask it to explain anything you don't follow.
Keep your project in git before running Codex, so you can review and undo any change. It makes this workflow much safer.
The slash commands you'll use most
From OpenAI's CLI docs:
| Command | What it does |
|---|---|
/init |
Create an AGENTS.md with instructions for Codex |
/status |
Show the current session configuration |
/permissions |
Choose what Codex is allowed to do |
/model |
Choose the model and reasoning effort |
/review |
Review your changes and find issues |
/review is worth running before every commit, even on changes you made yourself.
Step 5: Set permissions
Use /permissions to choose what Codex may do without asking. For client projects, start conservative: let it read freely, and approve edits and commands. Loosen it for throwaway work. OpenAI's permissions and sandboxing docs describe the options in detail.
Step 6: Connect MCP servers
MCP servers give Codex access to outside tools such as GitHub, a database or your deployment platform. Add one from the terminal, for example Vercel's:
codex mcp add vercel --url https://mcp.vercel.comCodex opens your browser to authorise servers that use OAuth. Servers are stored in ~/.codex/config.toml under [mcp_servers.<name>], and you can scope them to a trusted project with .codex/config.toml (Codex MCP docs). Run codex mcp list to see what's connected.
Step 7: Run it in scripts with codex exec
For repeatable jobs, codex exec runs Codex non-interactively, so you can call it from scripts and pipelines:
codex exec "Summarise the changes on this branch since main as release notes"Use it for jobs with a clear, checkable output: release notes, a lint fix, a report. Keep a person reviewing anything that changes code before it merges.
That makes codex exec the piece to use for automation.
Codex CLI or Claude Code?
Both are capable coding agents with similar ideas: a project instructions file, MCP, skills and permissions. Many builders use both on the same repository. See Claude Code vs Codex for the differences, and pick the one your plan already includes to start.
Prefer working in an IDE? Codex also has an IDE extension, and Claude Code vs Cursor compares working in the terminal with working in an editor.
Learn both
The Stride AI Coding course teaches Claude Code and Codex for building tools and apps for clients, written for non-programmers, with weekly live calls. Many of the free guides cover Codex setups.
FAQ
How do I install the Codex CLI?
On macOS and Linux, OpenAI's docs give a standalone installer, curl -fsSL https://chatgpt.com/codex/install.sh | sh. You can also install it with npm i -g @openai/codex. Windows and Homebrew options are on the install page.
Is the Codex CLI free?
Codex is included with ChatGPT plans, including lighter usage on the Free and Go plans according to OpenAI's pricing page in October 2026. You can also use it with an API key, billed at standard API rates. Usage limits differ by plan.
What is AGENTS.md in Codex?
It's the instructions file Codex reads at the start of a session: how to run the project, conventions and rules. Create one with /init. Codex combines a global file in ~/.codex with the files from your project root down to your current folder.
What does codex exec do?
It runs Codex non-interactively with a prompt, so you can use it in scripts, scheduled jobs and pipelines. It's best for tasks with a clear output you can check, such as release notes or reports.